Sticky: Recent Updates and Important Information

Sticky: Recent Updates and Important Information


Tuesday, March 19, 2013

Adding flash capability to Duo

Due to the number of requests, today I looked into adding flash capabilities to Duo - and it turns out it's a pretty simple affair. If you watched the video on separating the 105mm lens pairs, you'll see that the PC socket gets detached. Here, I reattach the PC socket and ground it to the lens to complete the flash circuit. Click through for the full write-up!


Friday, March 8, 2013

What's New? (Updated March 15)

Successful Calibration
Duo Mk. 3, Graflex RH12
Efke 100PL in HC110 monobath (6 minutes)

I realize that it's been a little while since the last update on things: Here's where we are so far:

$9 and up pledges: Getting shipped at the end of next week, hopefully - I had been waiting on a couple more boxes of FP100C to get started.

Progress on Kits:

  • Laser cut parts: Ordered, and being made as we speak.
  • Ground glass: Tested three different grinds of ground glass, and settled on the one with the least falloff and hotspot. The viewfinder looks even better than before! These are also in the process of being manufactured.
  • Front surface mirrors: Ordered, although there is a 1 week lag time for the specific thickness of glass needed.
  • Gears, shafts, magnets, screws, nuts n' bolts: Ordered, and coming soon.
  • Infrared testing: Thanks to another generous donation, I'll be running a roll of IR film through Duo to check for IR-tightness. The bellows and wood are certainly very effective against visible light - let's see how it copes against the rest of the electromagnetic spectrum.
  • Deluxe engravings: We're bearing down on the March 15th deadline for design submissions - I've laid out all of the ones that were submitted so far. Then it'll be off to the laser cutters.
  • Product documentation: A fully detailed set of instructions will be made when all of the parts arrive. I've also drawn up the templates for the viewfinder hood, inner bellows, and outer bellows. You'll find those below.

Templates (Inches)
Viewfinder Hood
Inner Bellows
Outer Bellows

Templates (Millimeters)
Viewfinder Hood
Inner Bellows
Outer Bellows

I'm also glad there were so many responses to the fabric color survey! Look like we're going with black, pewter, port royale, and navy blue. Good taste, people :)

Thursday, February 28, 2013

Colors, colors, colors!

Most of the time, you can buy your camera in any color you want - so long as it's black.

Building your own camera provides many options for customization and modification, one of them being choosing the color of your bellows. I will be ordering four different fabric colors for the kits. You will be able to choose your bellows color when you answer the Kickstarter survey for shipping information (this survey will be sent out when the kits are almost ready to ship.

That said, please vote for the four colors you would like to see included in the kits in the survey below. 

Thanks!


  1. Black
  2. Pewter
  3. Deep Forest
  4. Port Royale
  5. Ribbon Red
  6. Dry Rose
  7. Navy Blue
  8. Hawaiian Ocean
  9. Bonnie Blue

What colors do you want to see on Duo? (Pick four)

Tuesday, February 26, 2013

Duo featured in Portland Monthly

Duo was featured in March's issue of Portland Monthly, visible in the Table o' Contents and featured in the "Trophy Case" (p.26). Awesome!

Prototype 1 is kind of crushing the man in the advertisement - is that agony or surprise on his face?


Friday, February 22, 2013

Regarding Custom Engravings ($299+ and $649+ backers only)

Note: As of March 16 2013, Submissions for engravings are closed.

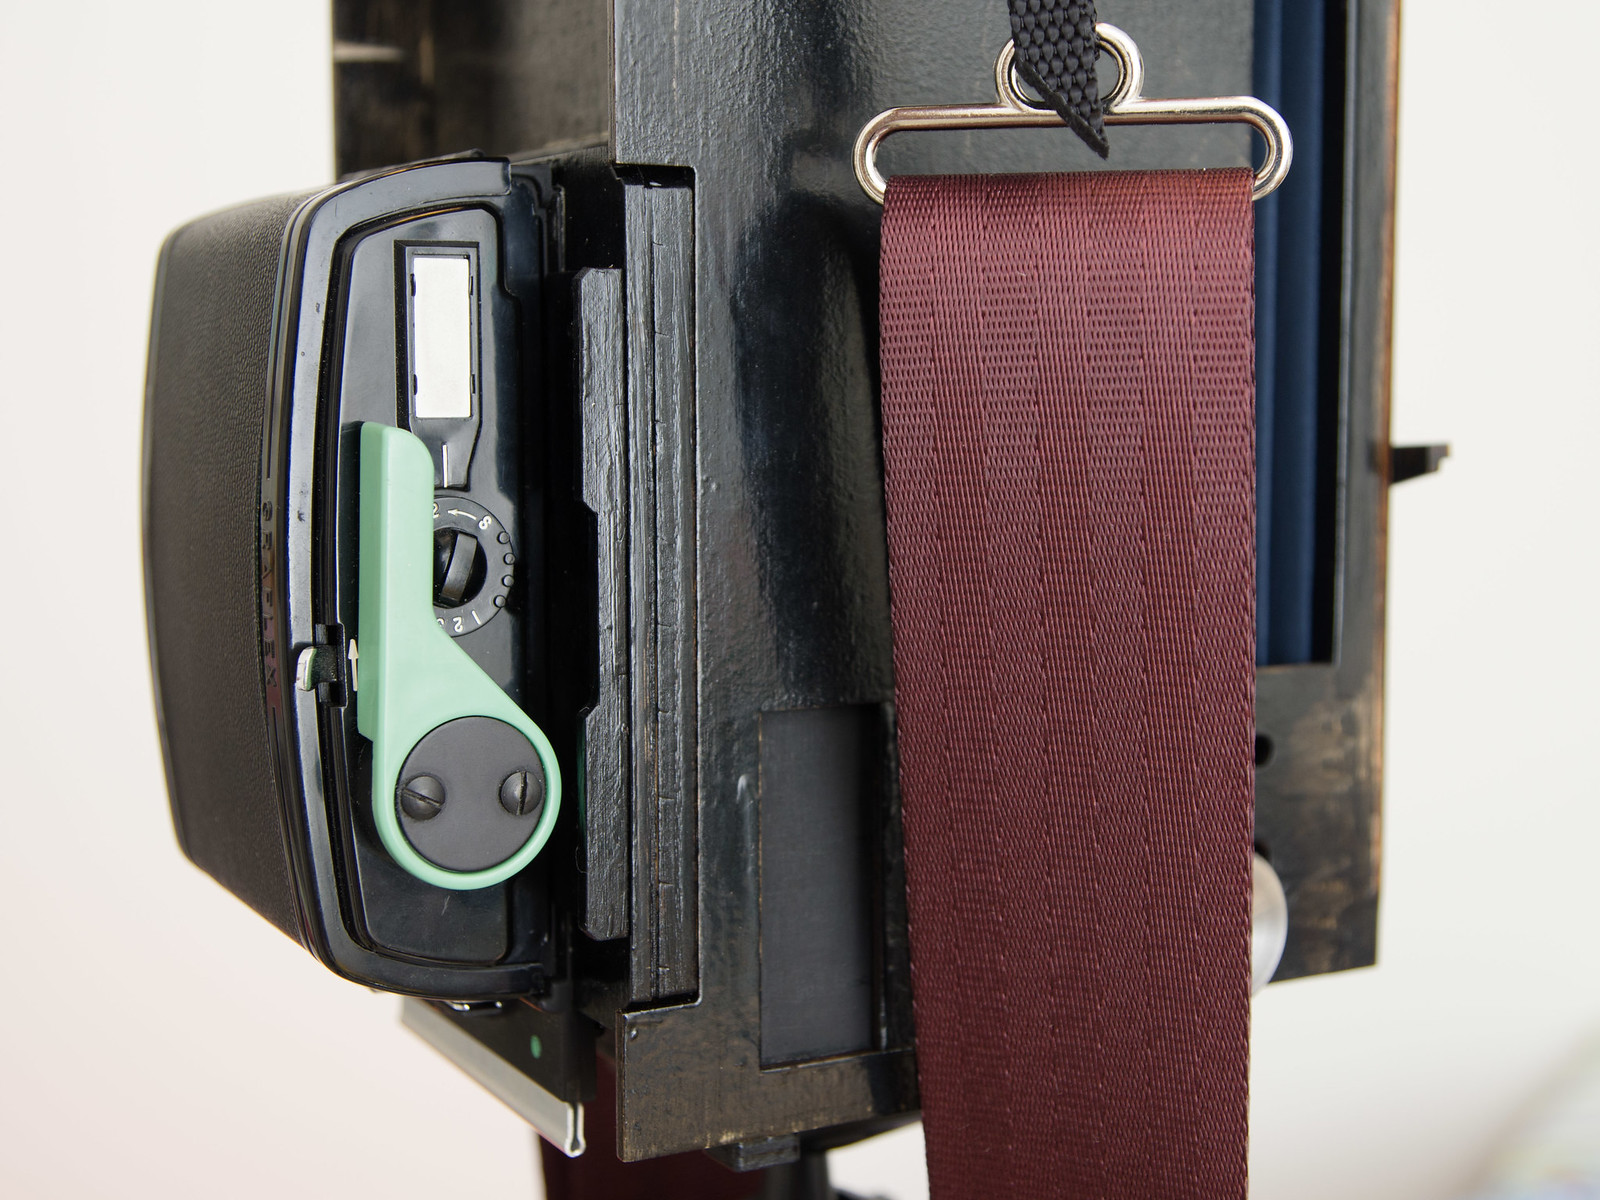
All Deluxe kit backers and Ready-to-Use Duo backers are entitled to custom engravings on their cameras. Engravings are limited to two locations: the viewfinder hood (the first photo below) and the bottom (second photo below):

Engraving area for the viewfinder hood. Note that this particular engravings was made very light - the actual engravings will be darker and fairly deep, roughly 1mm.

Engraving area for the bottom of the camera. You may choose one of the bottom areas to engrave.

If possible, please send the image in a vector image format, with the area to be engraved highlighted or otherwise noted. Failing that, a regular image is acceptable - I can make the vector layout from that file.

Vector formats accepted: DXF, DWG, Illustrator (.ai), Corel Draw (.cdr) or Illustrator-compatible PDF.
Raster formats accepted: JPEG, PNG, TIFF, etc, etc, etc. . .

Please send your designs to duo.tlr@gmail.com with "Custom Engravings" in the subject line. Any questions or inquires can be directed to that email, or the comments section. Please send in your design by March 15th. If you don't send in a design, the standard engravings on the Basic Kit will be used for your camera (which is also fine). Thanks!

Wednesday, February 13, 2013

First photo from Duo Prototype 3

Dead Cassette,
Duo Mk.3, f/3.5, 1/30s, FP100C

Prototype 3 Build - Day 9

Today is, potentially, the end of our journey. We'll just tie up the loose ends, and hopefully we'll have a test photo or two by the end of the day!


Tuesday, February 12, 2013

Sunday, February 10, 2013

Prototype 3 Build - Days 3, 4, 5, 6. . .

The past four days just flew by! Due to some schedule snafus, the only progress made on the prototype was finishing of the main components in Minwax Polycrylic. It's not perfect, but right now we have a pretty high build of semi-gloss finish, with a few spots of pooling and dust inclusions. Now we can continue with final assembly of the camera body.

Relegated to a lonely corner of the house, Duo is taking shape atop a copy of The Beacon, everyone's favorite collegiate newspaper. . .

Tuesday, February 5, 2013

Prototype 3 Build - Day 2

Here's Part 2 of our saga.


Prototype 3 Build - Day 1

Let's just cut to the chase - I got the parts for Prototype 3 in the mail today. I thought it might be helpful for backers to see the process of building the camera (even though this is a pre-production model - take everything with a grain of salt!).

The laser cut parts arrived in rather unceremonious looking packaging. If there's one thing after-school specials taught me, however, you can't judge a book by a cover. So let's get started, with the viewfinder hood.

Monday, January 21, 2013

Editorial: Parallax Correction

A couple of comments on the Kickstarter comments page asked about parallax correction, which is an issue characteristic of all TLR cameras. There are a number of ways to correct for parallax error - moving the entire viewfinder image, Rolleiflex-style, a moving needle to note the top of the frame, a la Mamiya, and finally fixed correction markings in the viewfinder. To minimize complexity, Duo will use the last option. 

But the problem still remains of how to calculate the error itself. We could of course measure it empirically by shifting the camera up and down by the lens separation of 75mm, or by comparing the VF image to the one projected onto ground glass in a roll film back. Either would work, but why not use some math to characterize the parallax error throughout the entire focusing range?

Wednesday, January 16, 2013

Editorial: Cameralogical Baggage

Although PetaPixel is the third-largest referrer to Duo's Kickstarter page, the comments section is a pit of derision (welcome to the internet). That said, this blurb of soaring praise raised a question that I couldn't help but ponder the answer to.

Monday, January 14, 2013

Selecting a Roll Film Back

Duo's roll film back is an optional extra that allows you to mount a 2x3 Graflex roll film back on the camera. This greatly expands the capabilities of the camera by allowing you to compose images on 6x4.5 up to 6x9 frames.

Graflex RH12, courtesy of Dr. Rawhead

Compatibility: 

Any roll film back designed to fit Graflex type backs will fit the adapter. Backs that have been confirmed to fit are as follows:

  • Graflex 
    • Lever advance models: RH8, RH10, RH12, etc
    • Knob advance models: "Graphic" 22, "Graphic" 23
  • Horseman (e.g. Horseman 6x9 and 6x7 holders, in 120/220 variants)
  • Mamiya RB67
    • 6x7 and 6x4.5 lever advance
    • Motor advance models not yet tested

I'll continue to add to this as I try new backs - this list is by no means exhaustive, and there is a good chance that a back not listed here will work.

NOTE! The Graflex and Horseman backs sometimes have a big rectangular adapter that will allow you to mount the back on a 4x5 camera. These will not work. We're looking for backs meant to fit 2x3 cameras, and generally the side facing the lens will look like this:


Horseman 6x9 Back (no longer in my possession)
Lastly, a video on how the adapter works:


After-the-break bonus: first photos on Duo using a roll film back.

Sunday, January 6, 2013

Selecting a Polaroid Back (Updated Jan. 25)

UPDATED: January 25th (Polaroid 600SE backs are CONFIRMED to work.)
UPDATED: January 20th (More photos added of compatible Polaroid backs.)
UPDATED: January 16th (Polaroid 600SE backs SHOULD work too - currently testing)
UPDATED: January 15th (Mistake corrected - Mamiya M80 backs don't work.)

The Duo kit also requires a Polaroid back (provided that you want to shoot on instant film!), NOT included in the kit.

Compatibility:

Duo is designed to use a Mamiya Press Polaroid Back Type 1, 2, or 3 (Model No. CB100, CB101, CB103). These backs were originally used on the Mamiya Press/Universal cameras. They were also often sold for use on the Mamiya RB67 with a "P Adapter." Some useful search terms for finding these backs on the used market are:

  • Mamiya Press Polaroid Back
  • Mamiya Universal Polaroid Back
  • RB67 Polaroid Back
Duo will also work with Polaroid backs from the Polaroid 600SE camera, which was a nearly identical clone of the Mamiya Universal. You'll want to look for a "Polaroid 600SE Back".

IMPORTANT things to be aware of:
  1. Third-party (e.g. Proll, NPC) Polaroid backs are unlikely to work on Duo without significant modification.
  2. Polaroid backs made specifically for the RB67 Pro-SD will NOT work. They have an integrated "P Adapter" that cannot be removed. See photos in "Additonal Notes, Part 4", below.
  3. There are some backs with wire closures (Types 1 and 2), and others with plastic closures (Type 3). Both will work.
  4. It was originally stated the Mamiya M80 backs would work. This was a mistake, the wrong model number was used. They rely on extinct film Type 80 film that no longer exists!
Again, slight modifications are required to attach the Polaroid back to the TLR. All you need are some screwdrivers, and you'll be done in no time (~10-15 minutes).
   

Additional notes after the break.


Selecting a Lens

The Duo kit requires donor lenses that are NOT supplied in the kit. Luckily, suitable lenses are easy to find on the used marketplace. After reading this entry, I hope you'll have a better idea of the lens you should buy to complete the camera.

First off, you need a Mamiya-Sekor 105mm f/3.5 lens pair. These lenses were originally used for the Mamiya C-series TLR cameras (e.g. C220, C330s, etc).

Some disassembly required.
There are four (4) variations of this lens! It is important to understand that there are some subtle differences between each lens, but all will work on Duo, and each is easy to identify:

  • "Chrome" - The lens and shutter are chrome
  • "Black" - The lens and shutter are black, and have no red engravings on the lens ring.
  • "D" - The lens and shutter are black, and has a red "D" engraving on the lens ring.
  • "DS" - The lens and shutter are black, and has a red "DS" engraving on the lens ring.

The biggest difference between the lenses are that the "Chrome" and "Black" lenses are a Tessar optical design (4 elements, 3 groups), and the "D" and "DS" lenses are a Heliar optical design (5 elements, 3 groups). The following are two photos taken using a "Chrome" and a "D" lens:

"Chrome" lens
"D" lens
Some conclusions drawn from these and other photos:

  1. The Tessar lenses cover the whole Polaroid frame at infinity focus, with minimal vignetting.
  2. The Heliar lenses are subject to vignetting of the corners at infinity focus (less of an issue for closer subjects). 
  3. The Heliar lenses seem to have better color rendition and contrast.
And some totally subjective conclusions:
  • Due to the different optical designs, the "D" and "DS" lenses require an additional spacer when building the camera (a trivial addition).
  • The "DS" lenses have nice features like a DOF calculator/preview, and a self-timer on the shutter.
In short, all of the lenses discussed above will work. The Tessar "Chrome" and "Black" lenses provide better frame coverage at the expense of contrast, and vice versa for the Heliar "D" and "DS" lenses. That said, there should be no vignetting problems on the Heliar lenses when using roll film.


Now what do you do once you get your lens? You get to take it apart, of course! This procedure is easily completed in ~20 minutes with basic hand tools, and is completely reversible.


Editorial: The things I've seen through these. . . lenses

Duo was never intended to be a trophy-case camera. It was specifically designed so that it could be used in the field, without a tripod or a whole slew or support equipment. A few features make it particularly useful for field work:

  • It's light! It weighs in at just under 3 pounds with a loaded Polaroid back. 
  • It's quick! Relatively fast lenses (f/3.5) make it easy to shoot handheld in most situations.
  • It's robust! Throw it in a bag or sling it over a shoulder - there isn't much to break.
Alright, enough of sounding like an infomercial. Click on through for additional photos.

Welcome!

Think of this as the "overflow" page for Kickstarter - the repository for information that would otherwise be unwieldy to post on that page or over on Flickr. Informationals, tutorials, FYI's, etc - this will be your source.

In the off chance that you've stumbled across this page without knowing whatever it is that I'm talking about - I'm talking about Duo, the twin-lens-reflex camera designed for Polaroid film. Enjoy!

Self-Portrait of Duo Prototypes: Mk 1 right, Mk 2 left.